Configure a Node.js Development Environment on Windows 10
Overview
If you want to learn to write code, setting up a development environment can be a barrier to entry. This tutorial offers a simple way to install the tools you need to start working with Node.js on Windows 10.
When a simple command should produce an output of a certain type, you will see:
command → output.
Install Chocolatey: the Windows Package Manager
I no longer recommend Chocolatey due to security and maintenance concerns. Please consider alternatives. One I have used with success is NVM-Windows. If you choose that option, you can skip to Install Node.
Chocolatey allows us to download and install open source packages from the Web. Chocolatey is as secure as the practices of the user. Mitigate risk by downloading known safe packages for your development machine. We will use Windows PowerShell to install Chocolatey. Enter PowerShell in your Windows Start Menu and choose “Run as Administrator” from the menu.
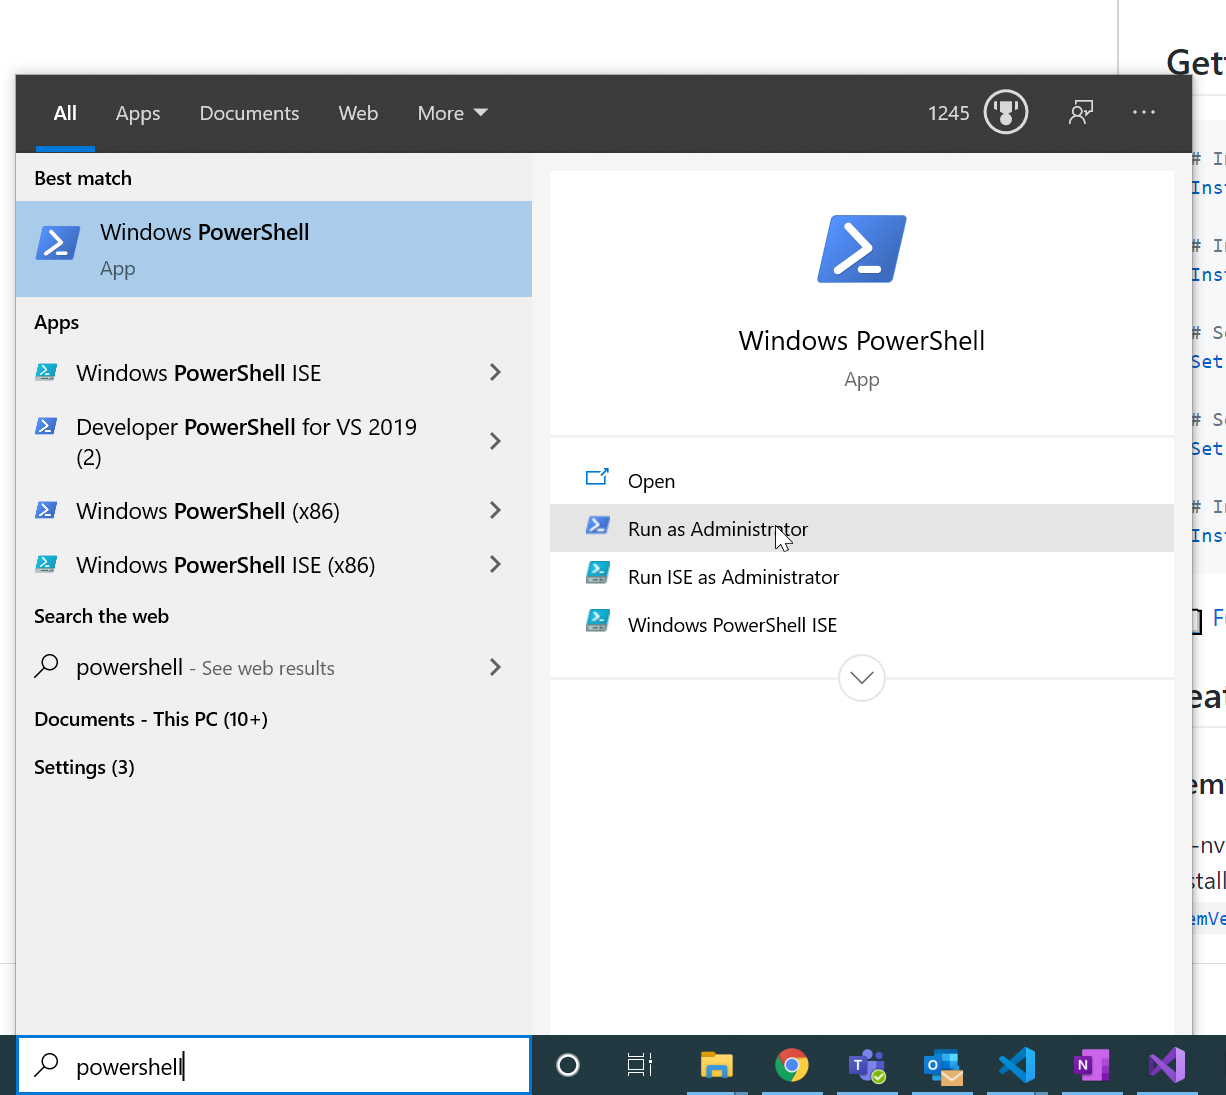
In your PowerShell terminal, enter the command:
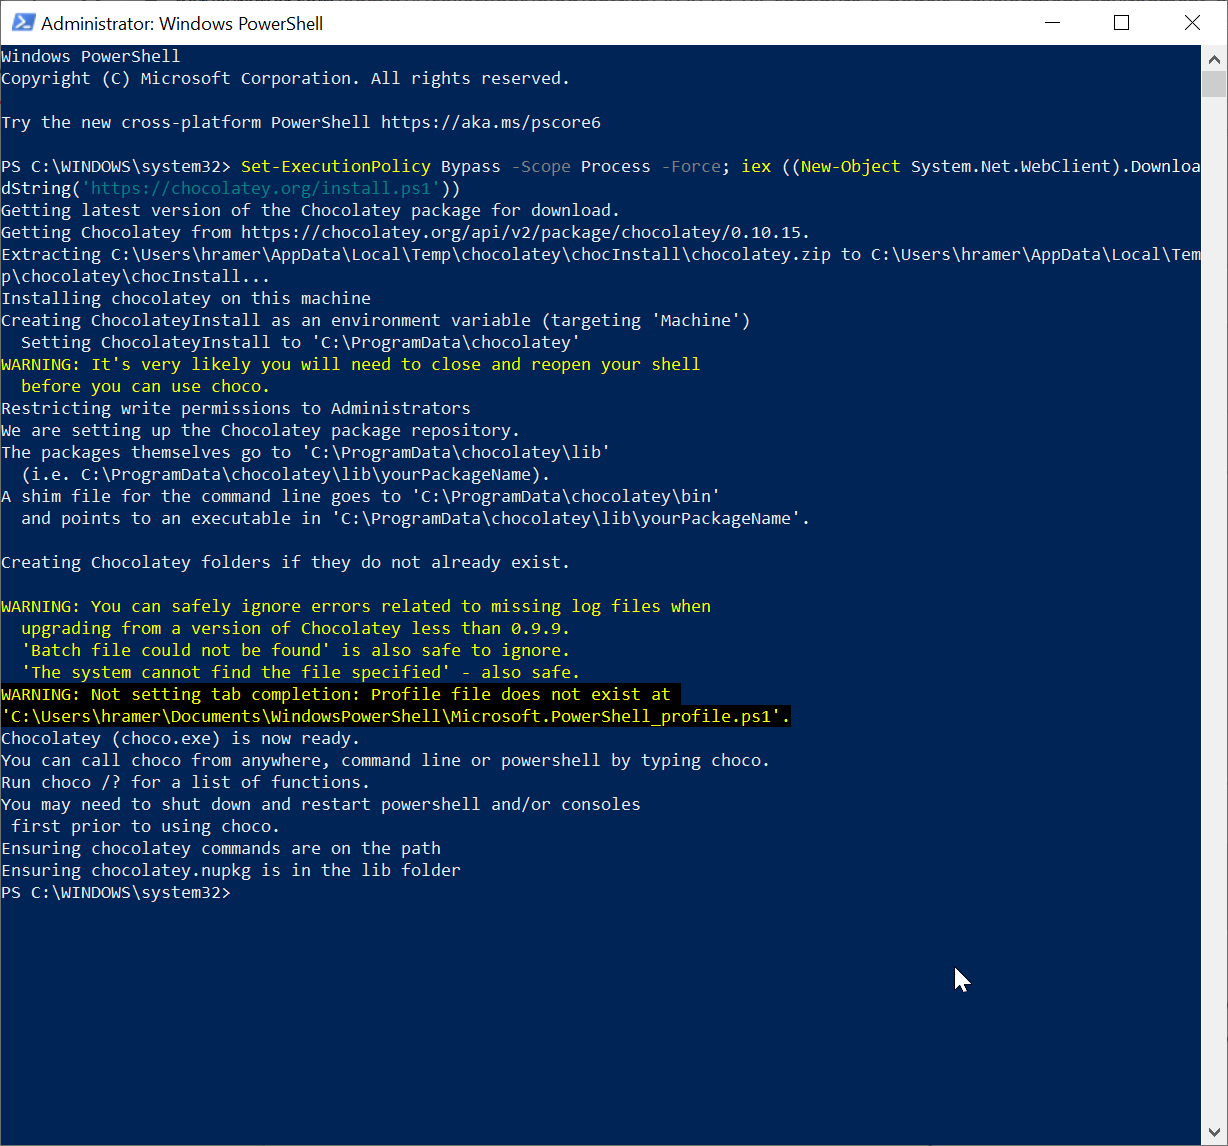
Set-ExecutionPolicy Bypass -Scope Process -Force; iex ((New-Object System.Net.WebClient).DownloadString('https://chocolatey.org/install.ps1'))
Expect output like this:
Install Node Version Manager (NVM)
Now we can use our Chocolatey Package Manager to download and install NVM! It is common to work on projects that require different versions of Node.js. If we installed Node.js directly, switching between such projects would present a conundrum. But NVM will make that an easy problem to solve.
This time, use Windows Terminal. Type `cmd` in the Windows Start Menu and choose “Run as Administrator”. To install NVM, enter the following command and verify your results.
choco install -y nvm
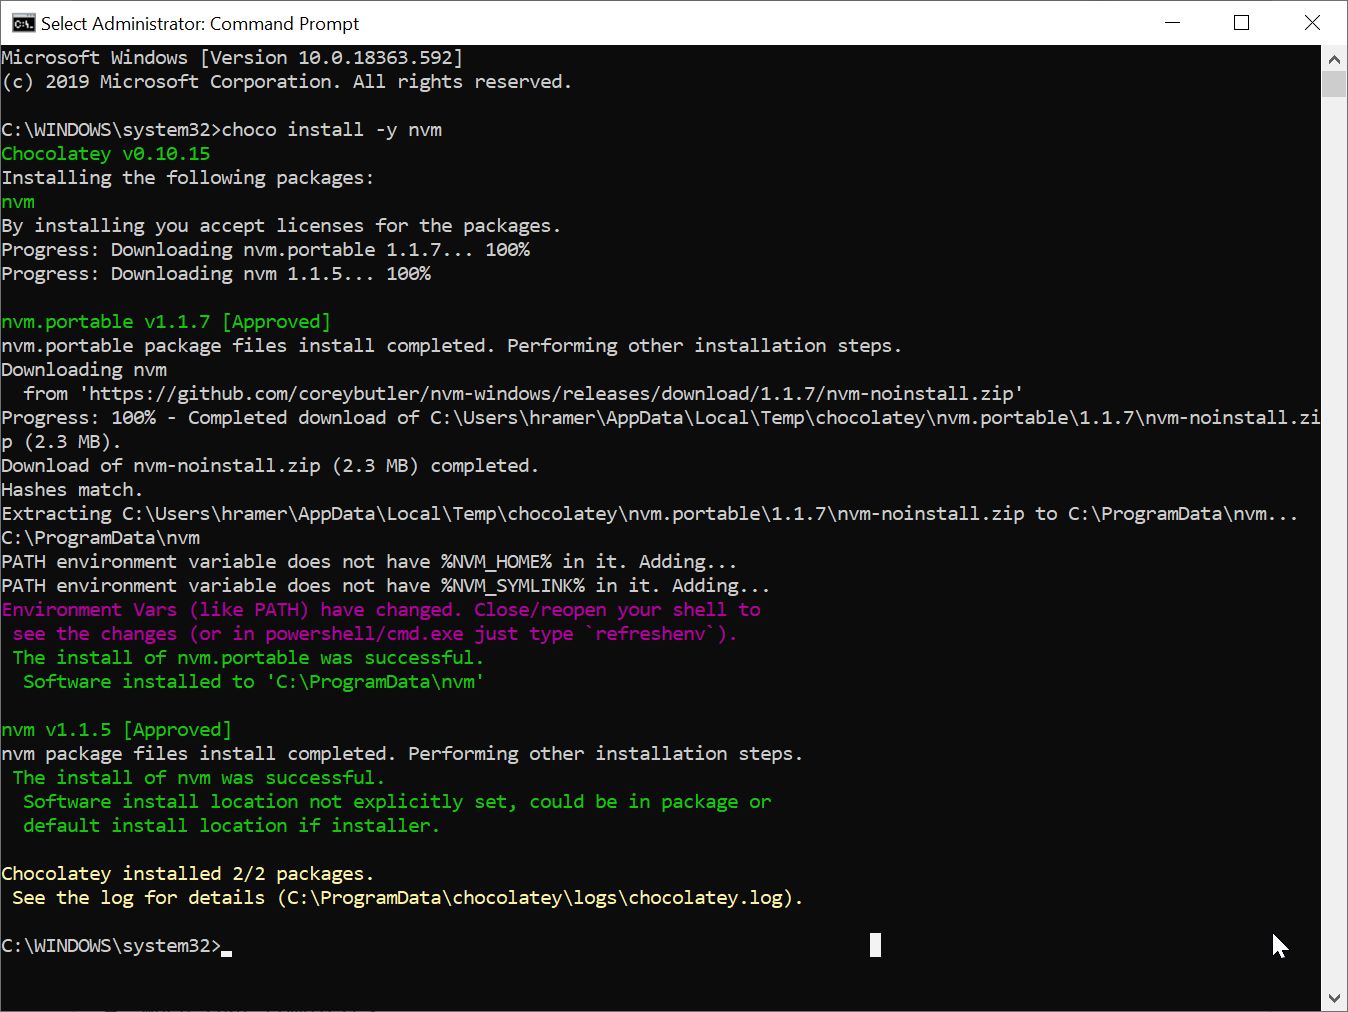
Close that terminal window and open a new one (again, as Administrator). This allows the terminal to look up environment information and see our newly installed package manager.
Try the command nvm version → 1.1.7. If you get a numeric version result, we’re good! Let’s install Node.js next.
Install Node.js
Now we can use NVM to download and install Node.js! Open the Windows Terminal again (you should not need Administrator privileges). Enter the following command and verify your results.
nvm install [email protected]
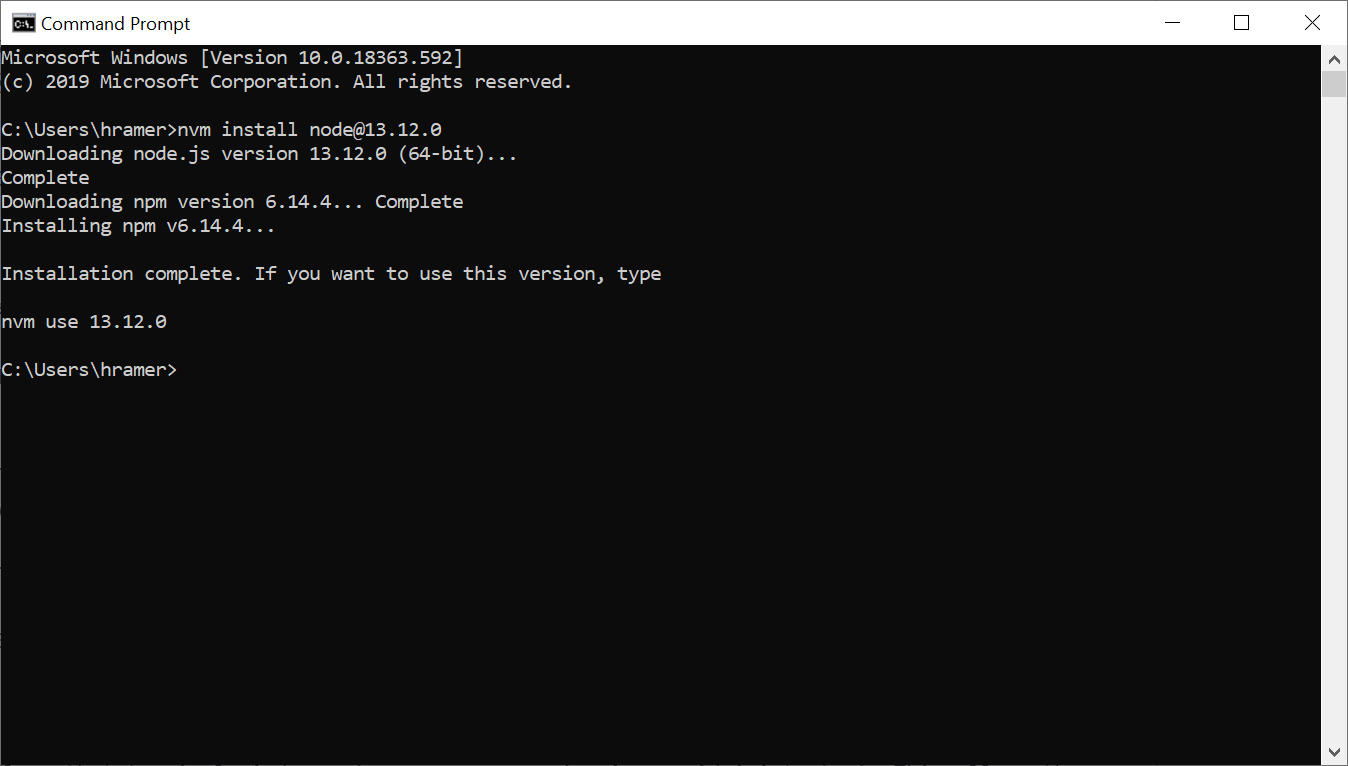
Before celebrating too much, let’s set our default Node.js version with the command, nvm use 13.12.0. Then, validate your install. If you are able to see the version for node and npm, you are ready to write code on Node.js!
node -v → v13.12.0
npm -v → 6.14.4
Hello World
In your Windows Terminal, enter node. This will launch the Node REPL terminal, then test a console.log statement.
console.log("Hello World!");
Your “Hello World” statement will be printed to the terminal. Then, exit the REPL, by entering .exit.

Add More Versions of Node.js (optional)
As I mentioned earlier, it is common to contribute to multiple Node.js projects requiring different versions of Node.js. For example, you could choose to write your own project in Node.js version 13.12.0, but need to help another developer working on a project using Node.js 12.16.2. This will help you with that problem. To add another version of Node, open Windows Terminal.
nvm install [email protected]
nvm use 12.16.2
Validate your newest install.
node -v → v12.16.2
npm -v → 6.14.4
To switch back to version 13, after this, we would once again use the command: nvm use 13.12.0. At any time, you can see your locally installed versions of Node.js with nvm ls.

Install Git
In most cases, you will write code that requires version control. For that purpose, nothing works better than Git. Let’s do that before we wrap up. It will be easy. I promise.
Download the latest installer from the Git website (download should start automatically). When the download completes, install using the defaults. No fuss. We can configure Git later. You’ll finish in a flash.
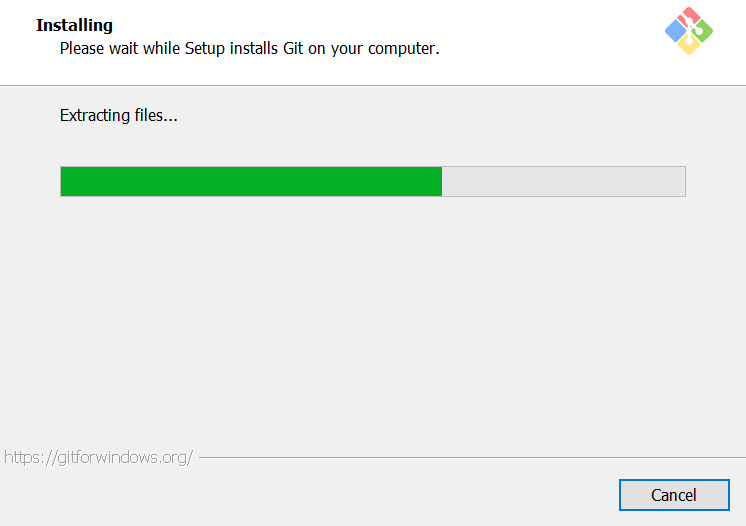
When the installation completes. Open a new Windows Terminal and enter the command git --version → git version 2.26.0.windows.1. If you see a version as described, Git is configured correctly.
Install Visual Studio Code
Visual Studio Code is my preferred development environment for Node.js. There are many excellent guides on getting started. In short, download the latest binary of Visual Studio Code for windows.
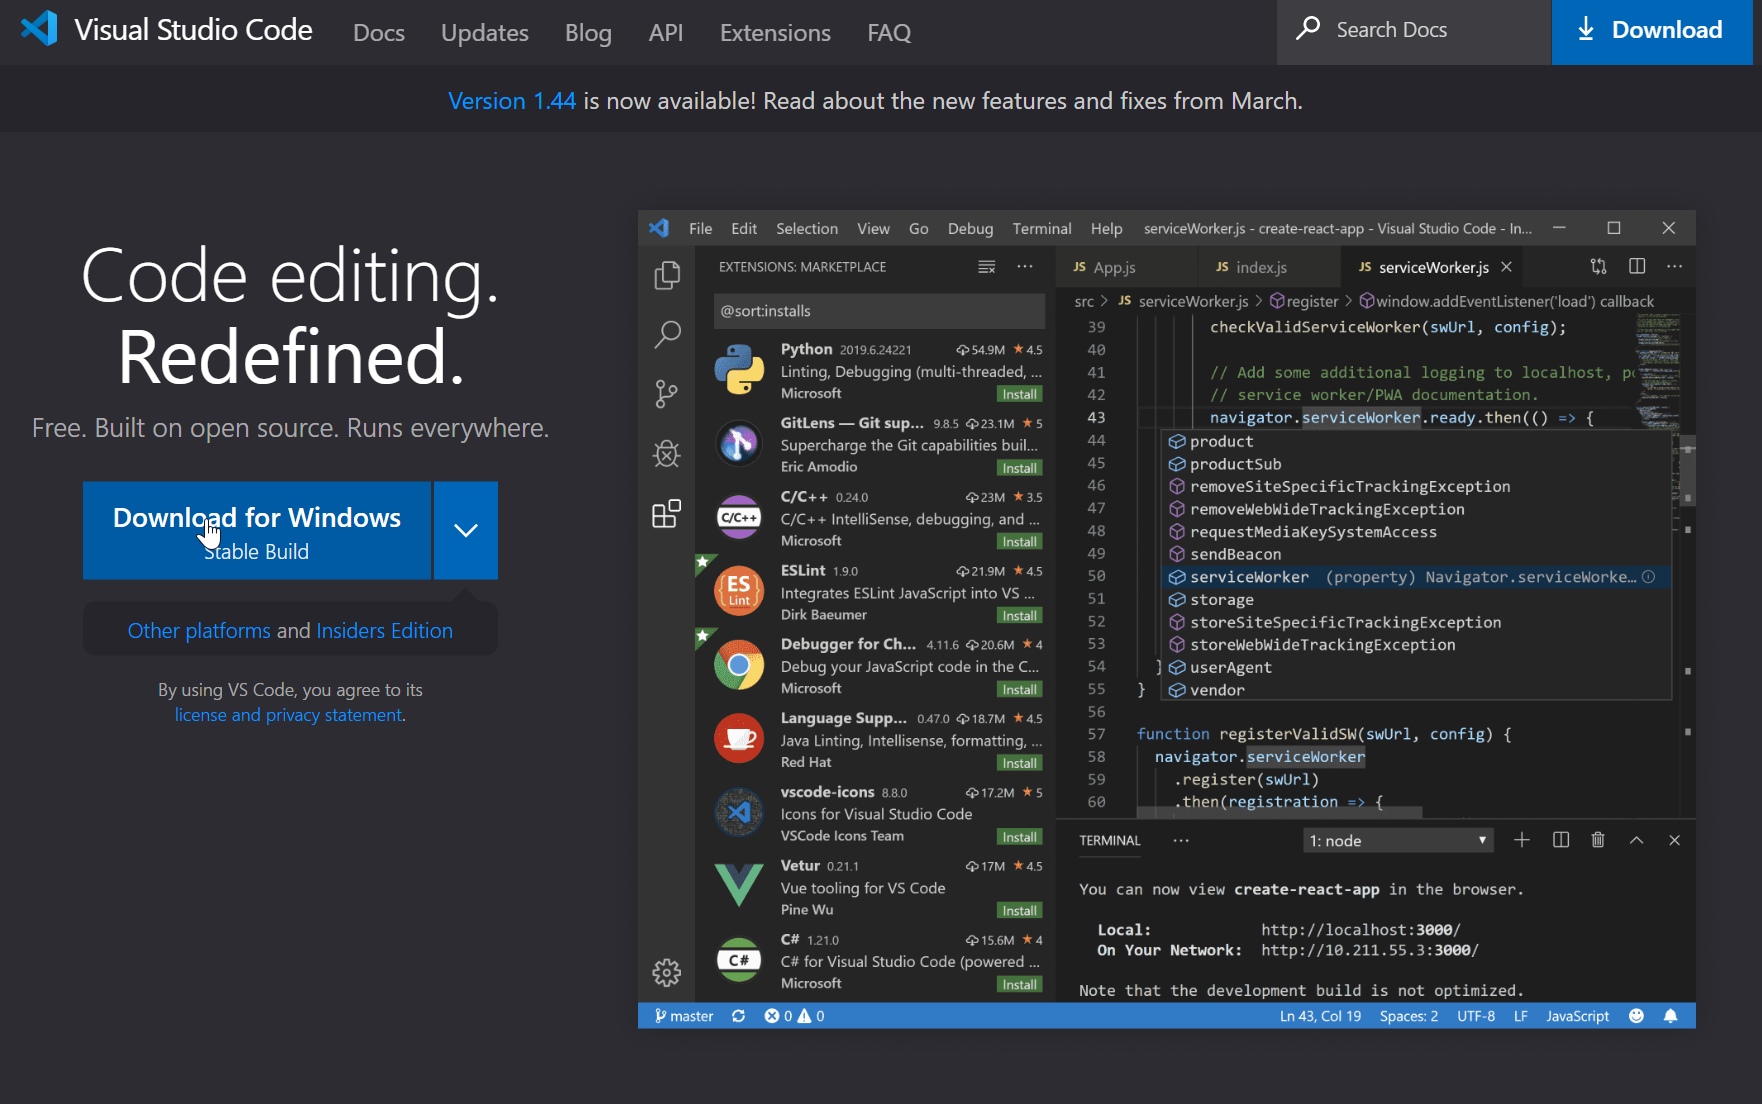
When the download completes, install using the defaults. No fuss. You only have one final thing to do. Visit the Visual Studio Code Marketplace, and install intellisense and the extension pack for Node.js.


When those are both installed, restart Visual Studio Code and poke around on to get a sense of the tools available to you.
You’re Finished!
You have configured NVM to manage two versions of Node.js. You installed Git to make sure you never lose any of your code changes. To top it off, you added and configured your own code editor. Congratulations!
Ready for a new challenge? Start Here to Make a Useful COVID-19 Tracker with Node.js.

