Get the Drop on the Cloud: Node.js and Azure
Deploying applications to the cloud can be intimidating. Don’t worry though, this guide will stick to the bare essentials. When you’ve finished here, you will have a web application running on Azure.
Take care of some things before you begin. The tools below will allow you to complete the tutorial work. There may be other VS Code extensions that will do the same job, so feel free to try any tools that make sense to you.
- Create a free Azure account
- Install Visual Studio Code (VS Code)
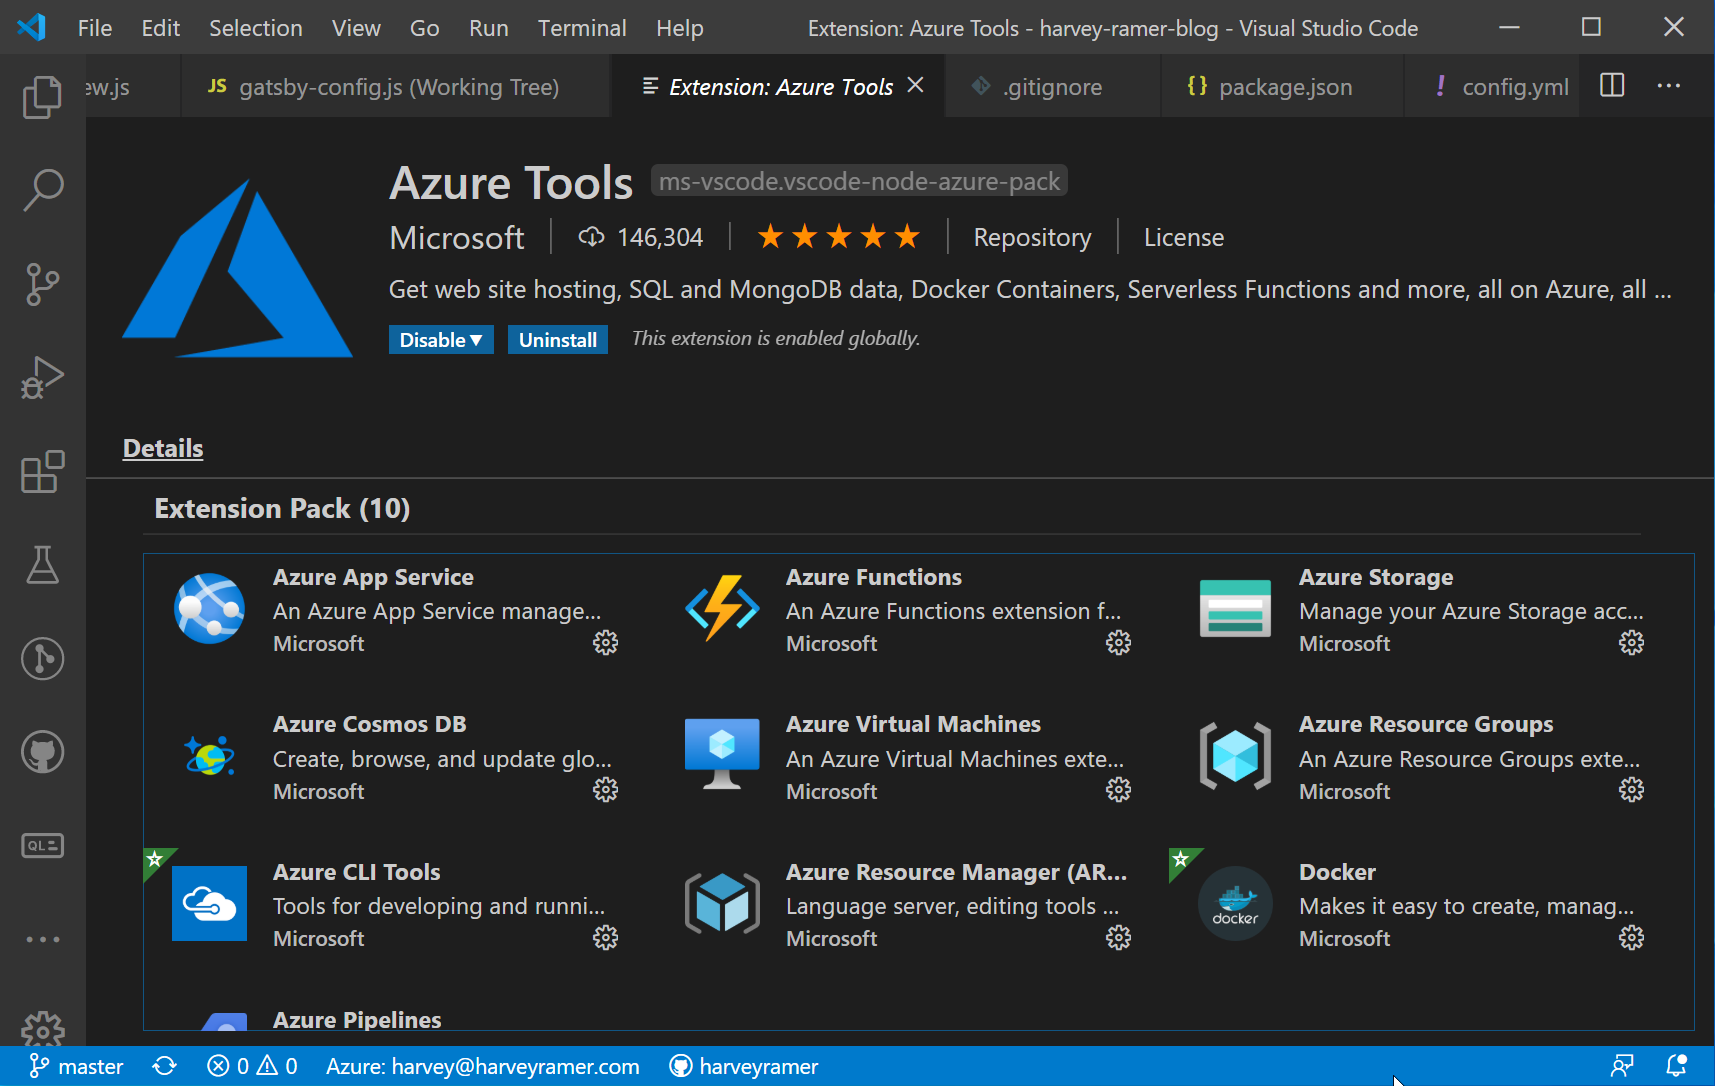
- Add the Azure Tools Extension Pack to Visual Studio Code
- Install NodeJS
Log In to Azure
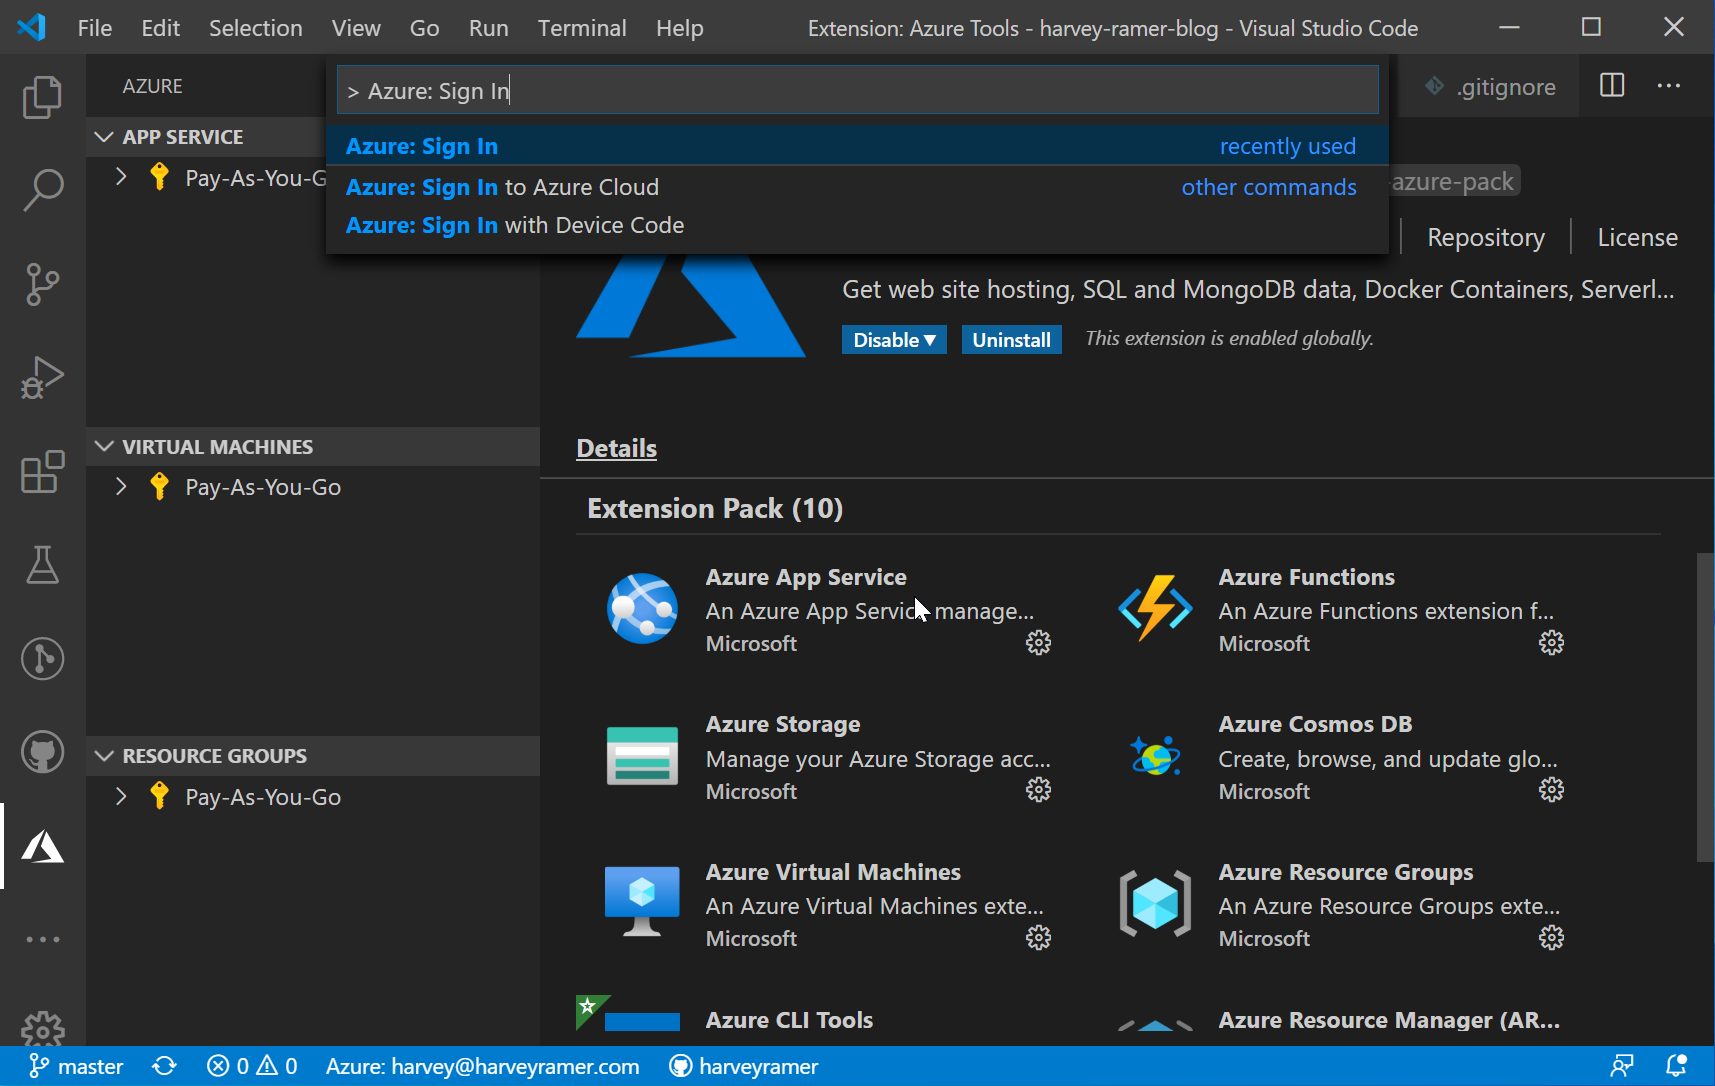
In VS Code, open the command palette (Ctrl+Shift+P) and enter > Azure: Sign In. You will be prompted to log in via a browser window. When complete, you will see your subscriptions listed in your Azure panel.
Start Coding
Installing the COVID-19 Tracker
For this project, use the COVID-19 Tracker project.[1]
- clone or download the repository (
git clone [email protected]:harveyramer/covid-19-demo-express-js-app.git) - Navigate in your terminal to the root directory (
cd covid-19-demo-express-js-app) - Check out this branch (
git checkout tutorial-2) - Install the project (
npm install) - Start the server (
npm start) - Navigate to your project in a browser (http://localhost:3000)
Preparing for Deployment
Since Azure’s App Service uses dynamically configured Docker containers, you cannot specify a port in our code. Instead, rely on an environment variable.
- Make sure your local server is not running (
Ctrl+C). - Open the
src/index.jsfile and update line 5.
const port = process.env.PORT
Deploying to Azure App Service
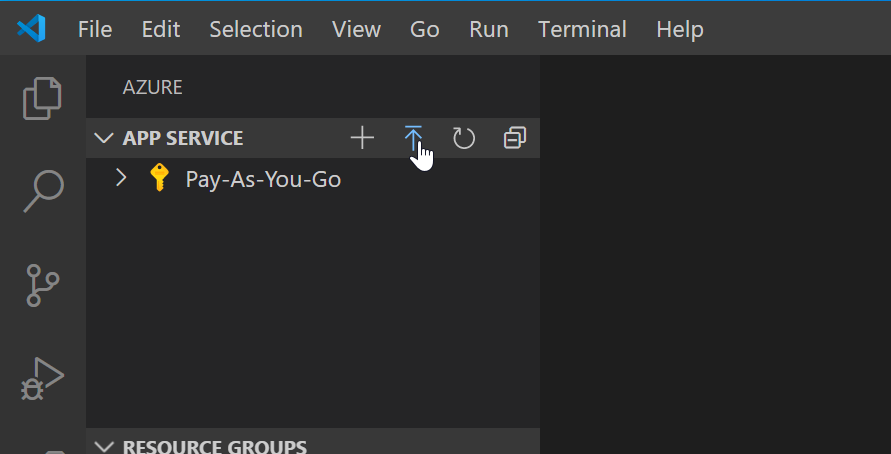
The extensions in the Azure Tools pack you installed make it easy to deploy a Web app. To show the Azure panel in VS Code, click on the Azure logo on the left. Then, click the Deploy to Azure arrow button in the App Service menu bar.
The Azure App Service extension’s wizard will help you deploy your app.
- Select the covid19-tracker folder to zip and deploy
- Choose Create new Web App…
- Next enter a unique name for your Web app. (
covid19tutorial-myname) - Select runtime Node 12 LTS
- Wait a few minutes while Azure provisions the resources for your Web app
- When asked, “Would you like to update your workspace configuration to run build commands on the target server?” Answer, “Yes.”
- To monitor the build process, show the output window.
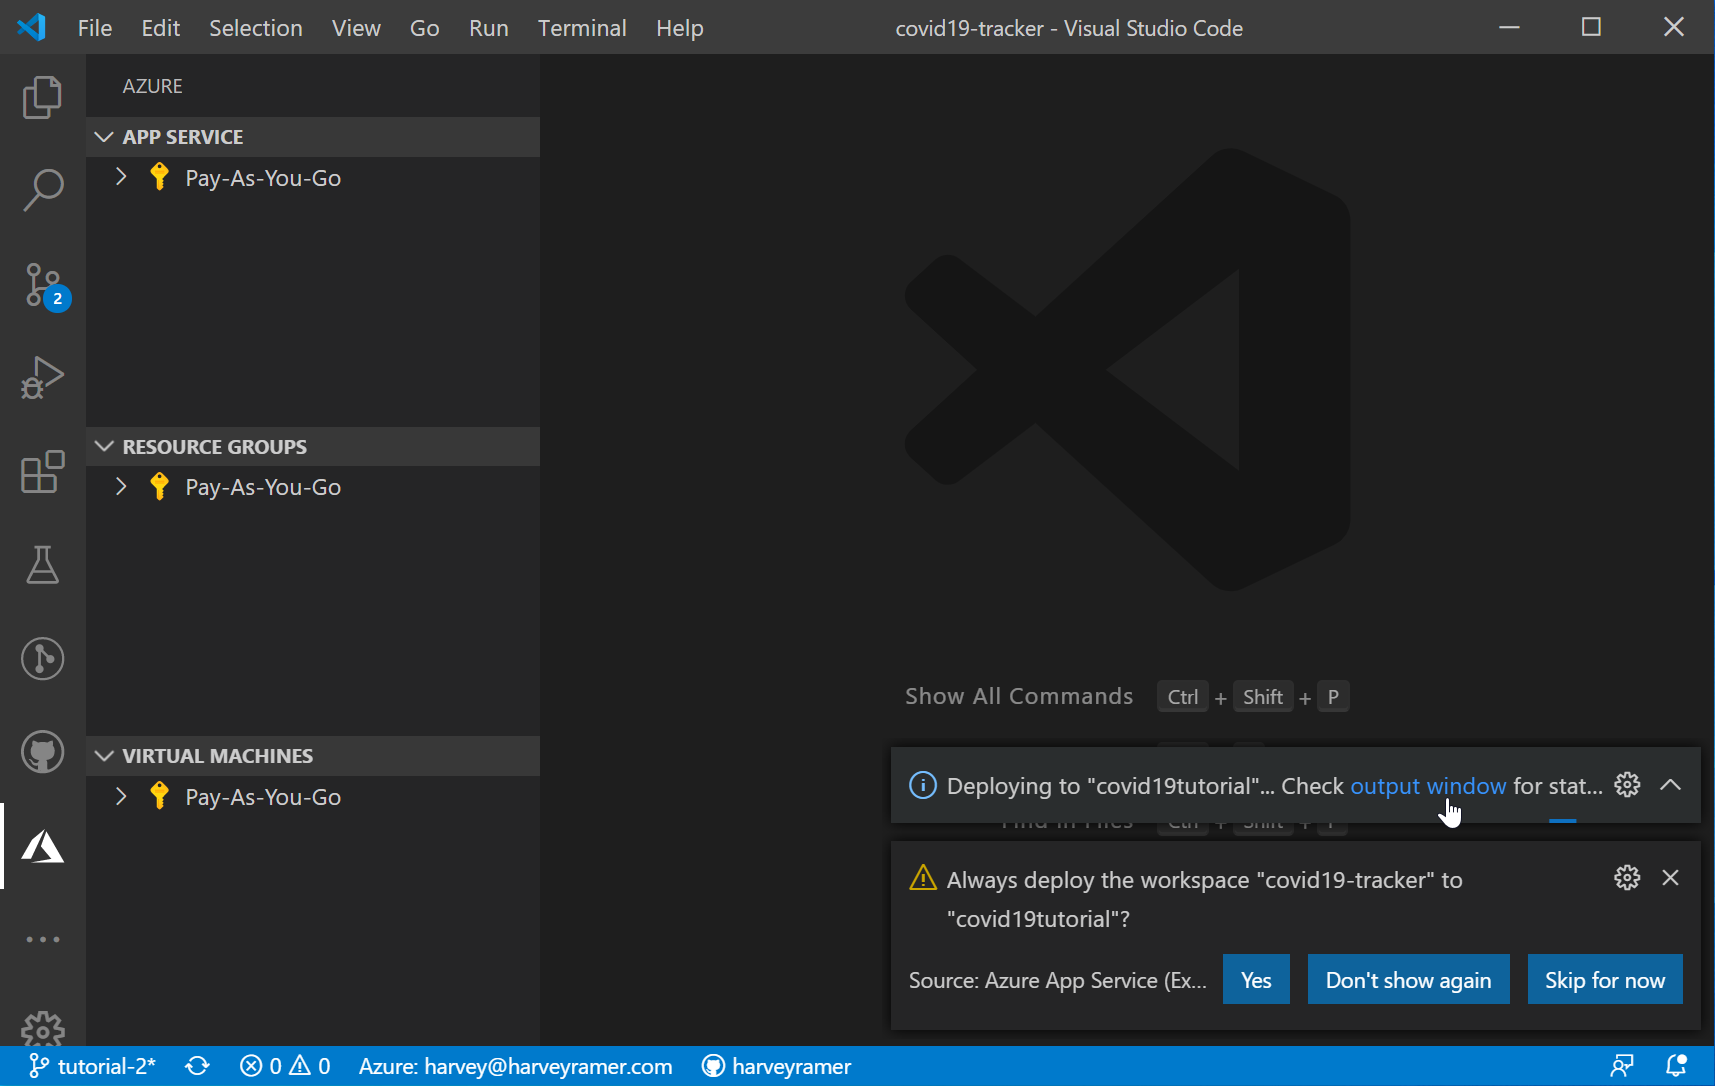
When deployment finishes, browse to your new website. It will use the unique name you specified, for example, covid19tutorial-myname.azurewebsites.net. Your app will not respond and may display an application error. This is normal. We have one more configuration step.
Add an Application Setting
You will need to add an Application Setting to tell Azure App Service what version of Node.js to use.
- Expand your subscription, Web app, and right-click on Application Settings
- Choose Add New Setting
- For your setting key, enter
WEBSITE_NODE_DEFAULT_VERSION - For your setting value, enter
12-lts
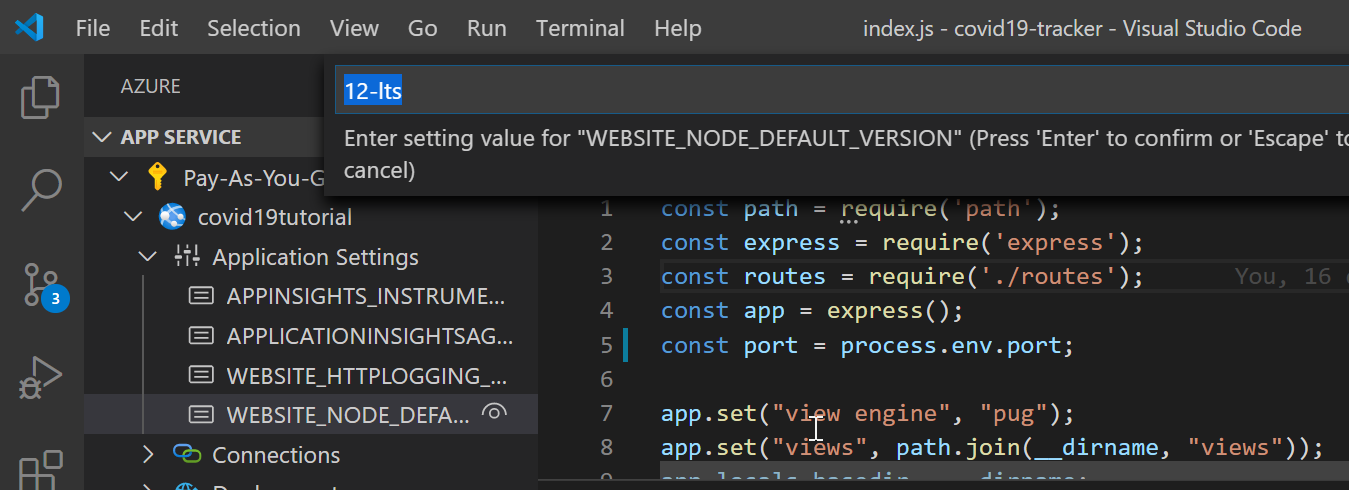
Adding a new application setting causes the App Service to restart, which can take several minutes. If your Web app does not start in 10 minutes, see Troubleshooting below.
Monitoring your App with Logs
Since it takes several minutes for your app to warm up after being deployed to Azure, it helps to monitor the Log Stream for your application. To do that, Expand your application’s Logs (Read-only) folder and click Connect to Log Stream… An output panel in the terminal will allow you to monitor your application’s progress.
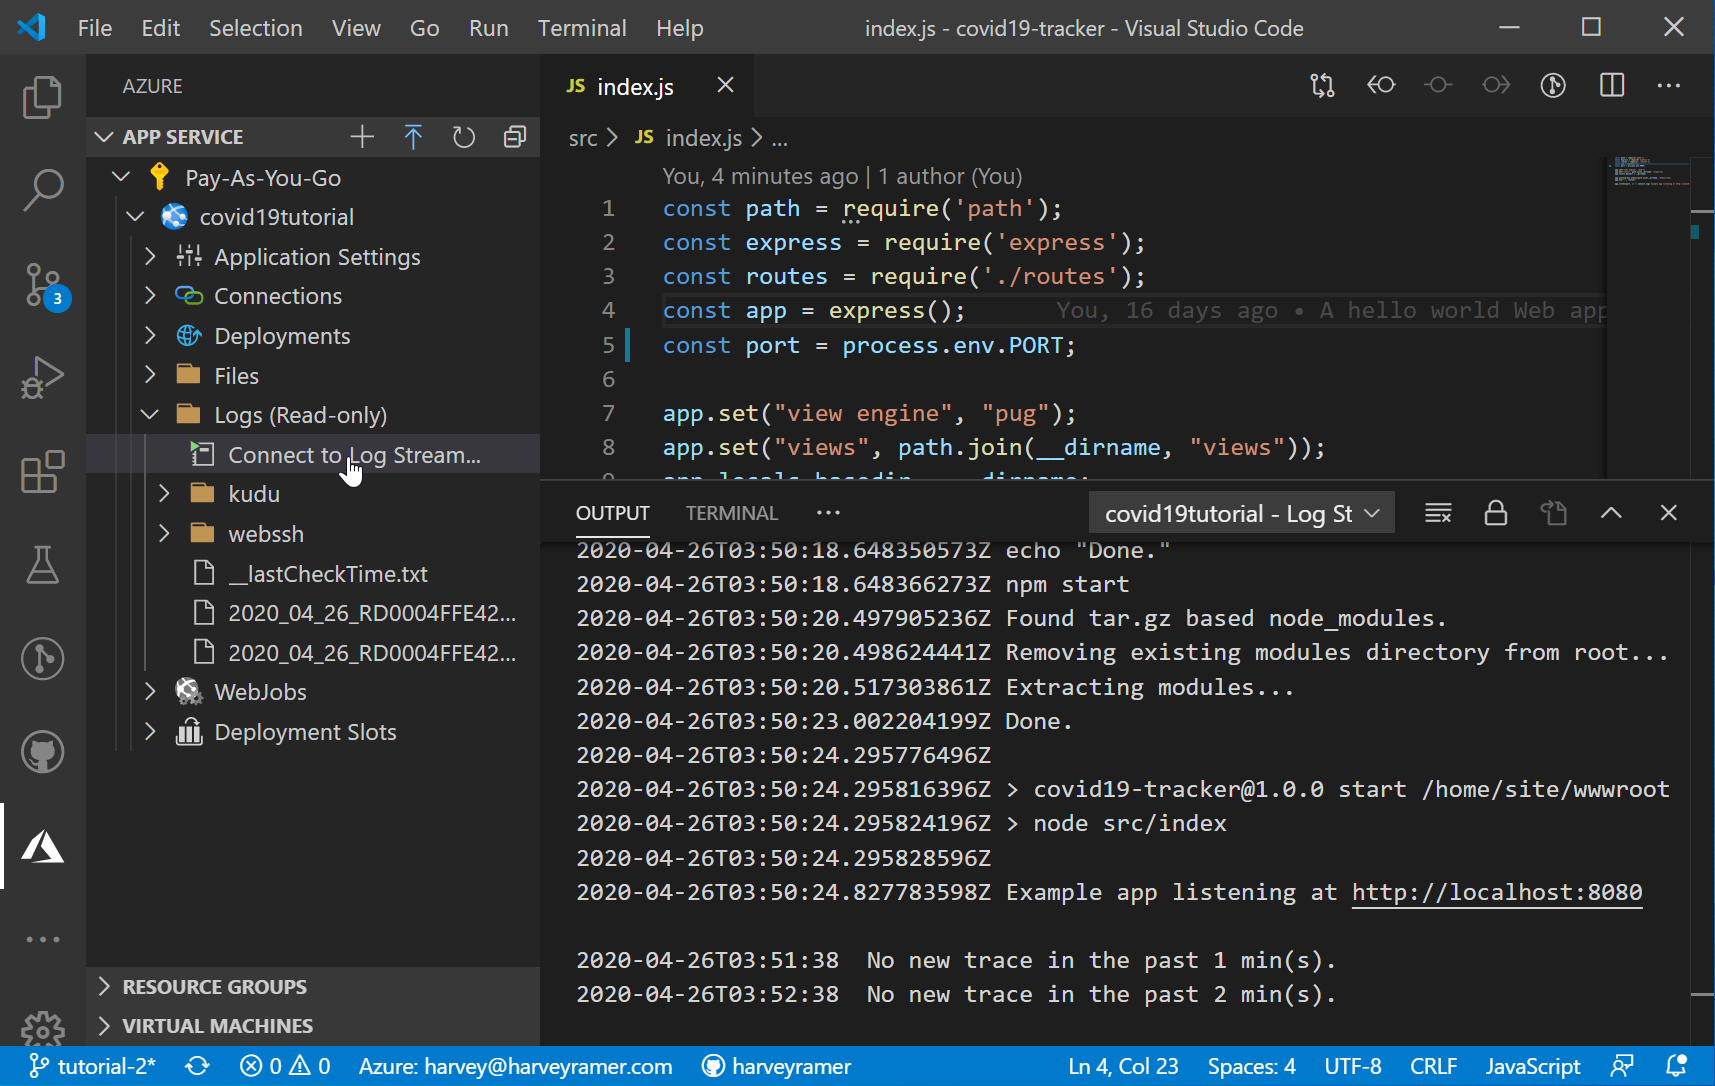
When you see Example app listening at http://localhost:8080 your app is warmed up and ready to take some requests.
Success
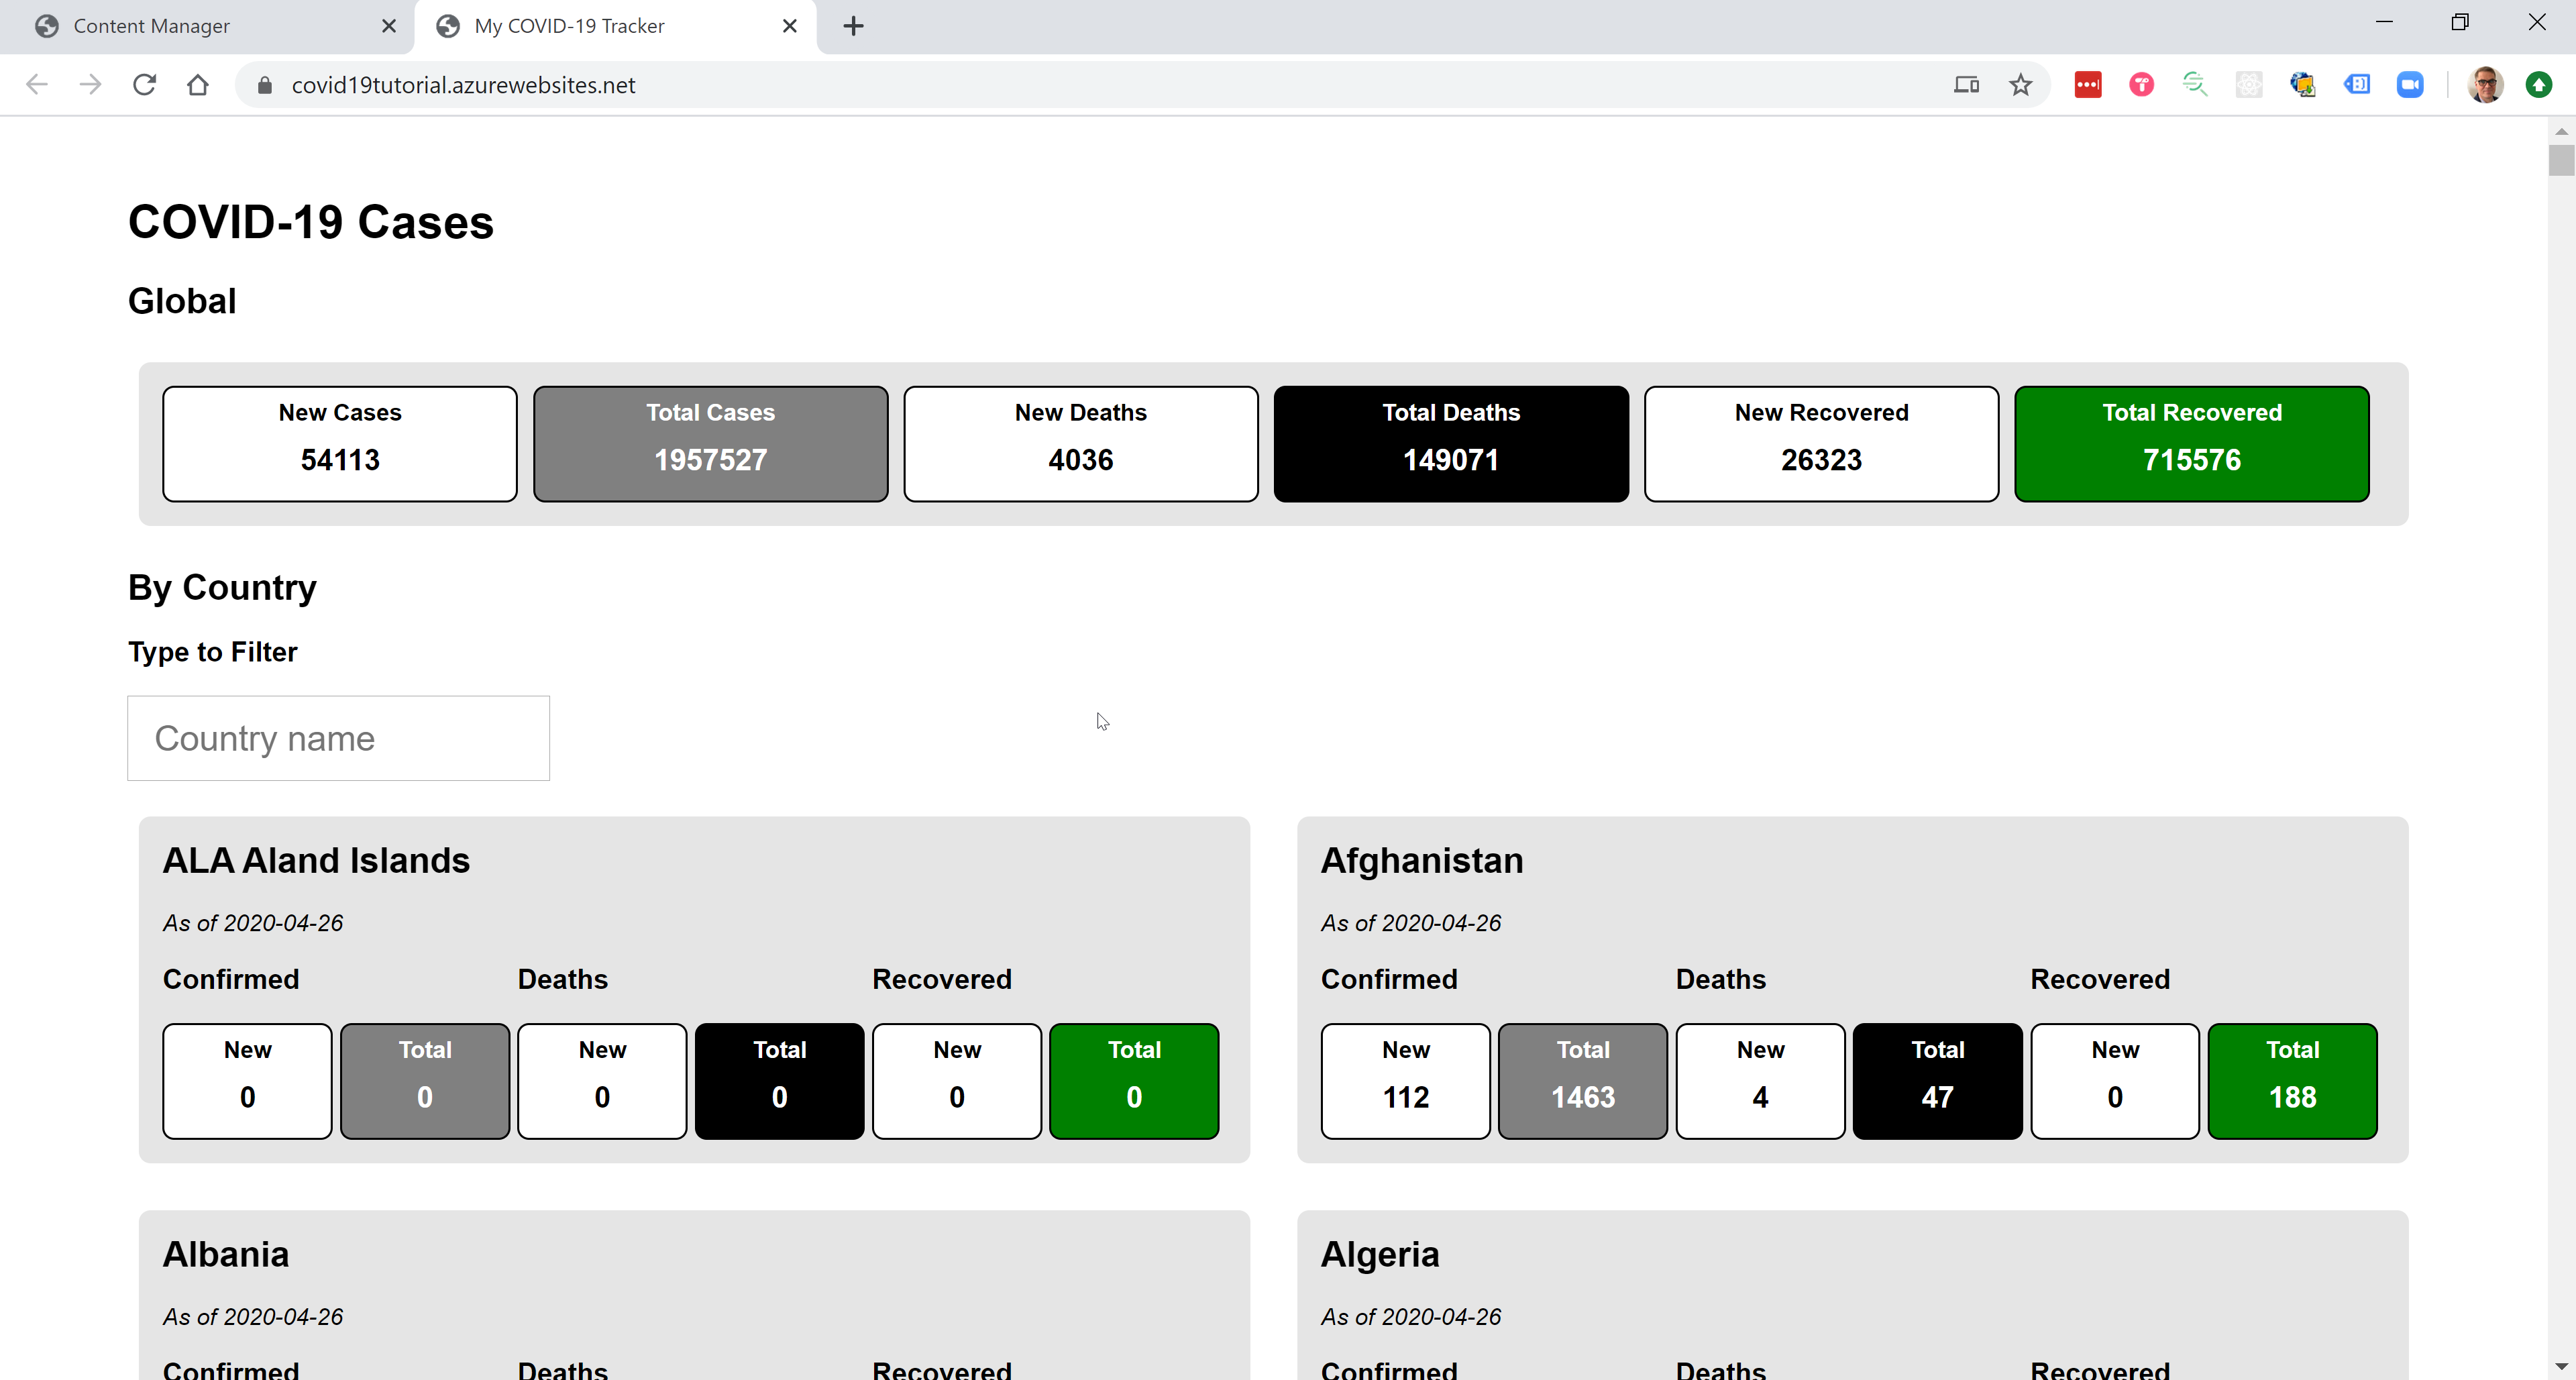
Your first deployment of a Web app with Node.js to Azure can be a bit tricky. When you succeed, your COVID-19 Tracker will be live for the world to see. If you want to share it with friends, you may want to upgrade from the free App Service Plan, which only runs for an hour each day.
Troubleshooting
If your deployment fails on the first try, as mine did, it is likely a timing issue. Some resources your Web app depends on were not provisioned when it tried to start.
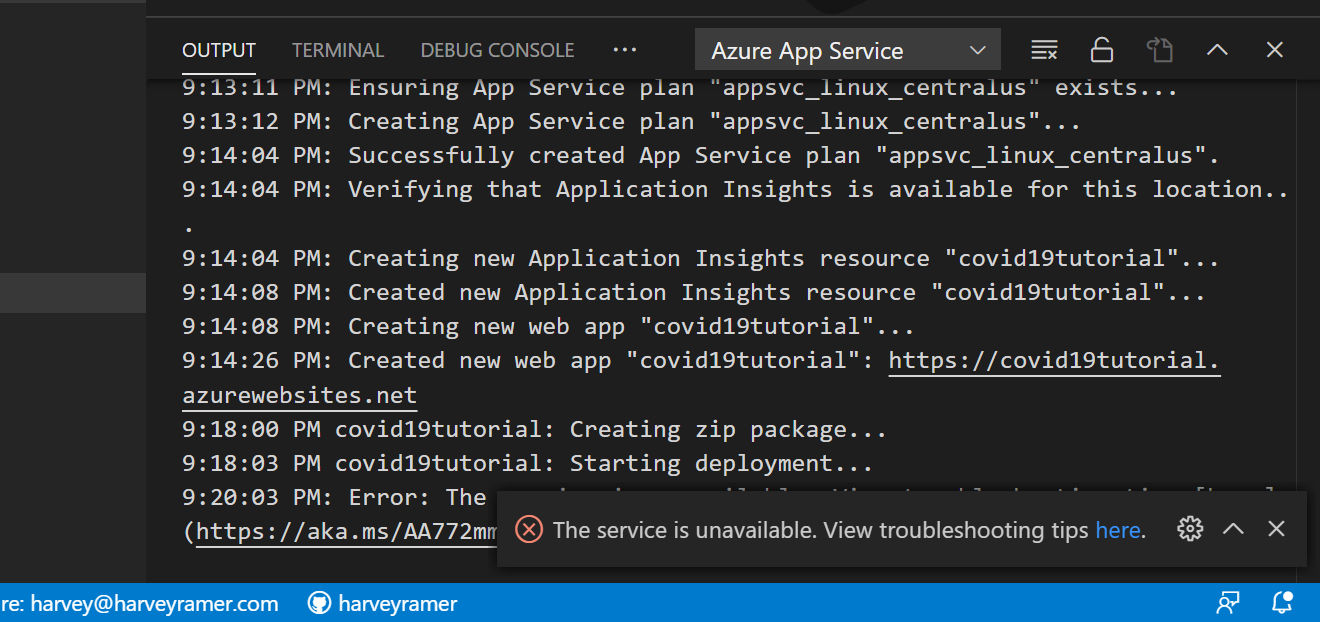
Make sure you have completed all the steps above. If your app still does not start after 10 minutes, either dig into Azure’s Node.js troubleshooting documentation, or use the nuclear option. I have found that deleting your Web Application and starting over resolves the problem.

